
Defenses Guide: Safe Zones, Gates, and Fallbacks
Build layered protection with safe zones, gates, barricades, and evacuation stations in real-world cities.
What defensive structures are confirmed?
The Steam page says players can place safe zones, gates, and more to protect the civilian population. The presskit adds barricades and evacuation stations. These are the confirmed defensive categories used in this guide.
The official material does not publish a complete building list, exact coverage, or costs, so there is no single “best” layout. The city map, civilian distribution, and your available ground forces all affect what a defensive structure needs to accomplish.
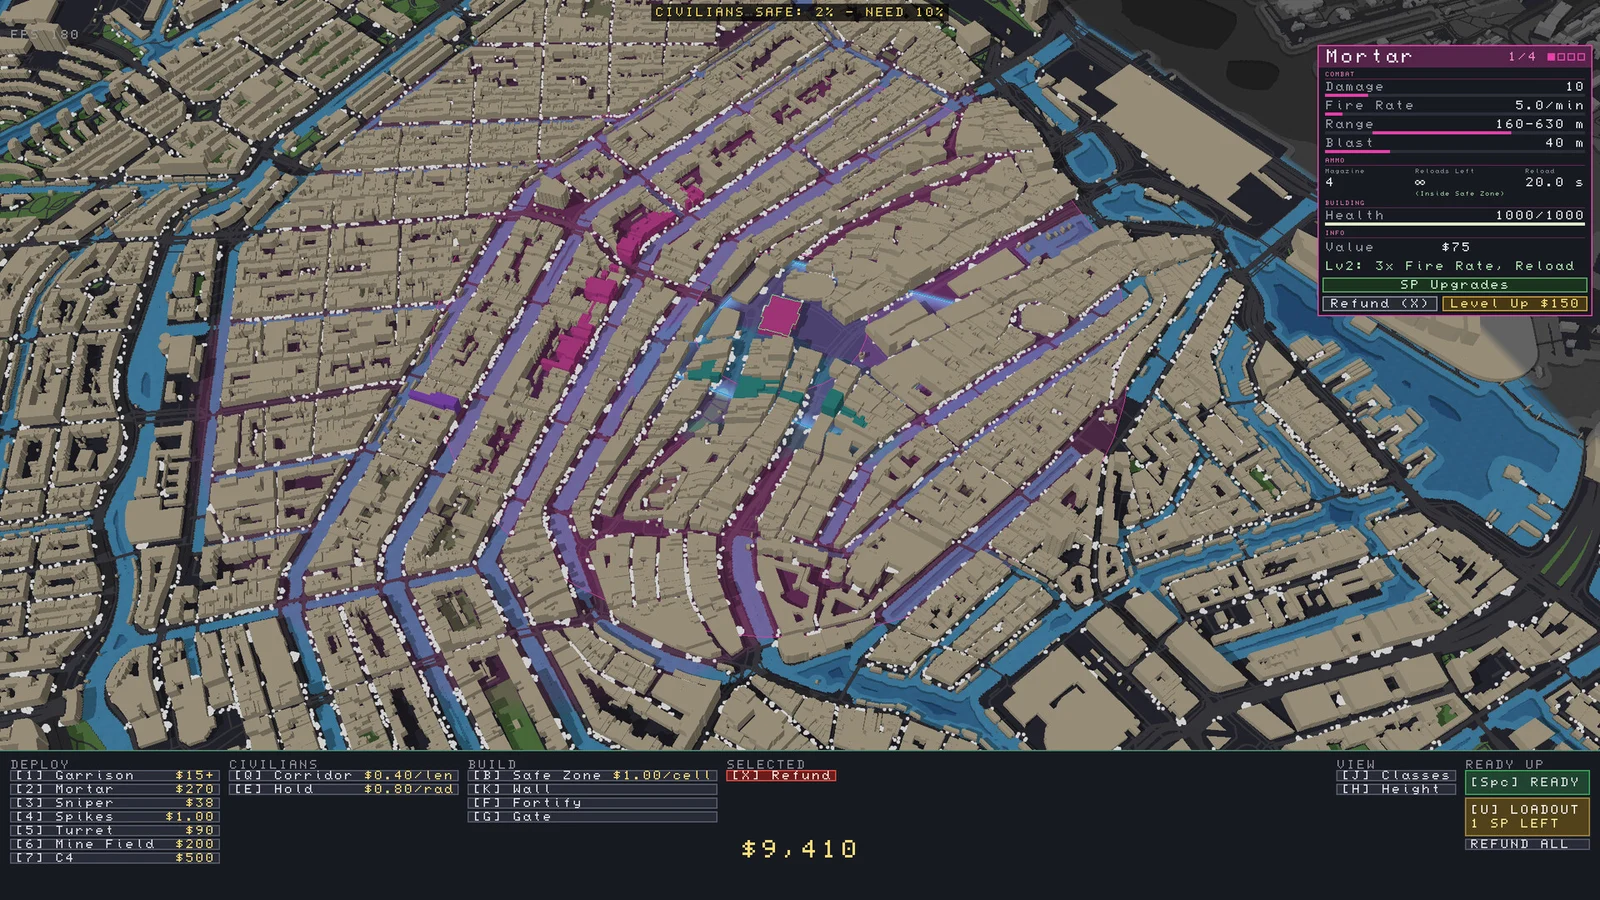
What job does each structure do?
A safe zone protects people and gives the defense a clear area to hold. A gate controls movement through a boundary. A barricade blocks or redirects an approach. An evacuation station supports the movement of civilians toward safety. These are functional descriptions, not claims about exact mechanics.
If a gate does not have a unit covering it, it may only delay the horde. If a safe zone is disconnected from the rest of the plan, it may become an isolated pocket. Structures should support a route, a response, or a fallback.
How should a layered defense look?
Build from the inside out. First identify the area that must remain protected. Then decide which approaches can be slowed, which can be held, and which should be abandoned if pressure becomes too high. A fallback line is not a sign of failure; it is a place where the defense can reorganize.
Avoid making every layer equally strong. Resources are limited, and a thin line everywhere can fail everywhere. Concentrate enough protection to create a meaningful delay, then keep ground forces available to respond. The ground forces guide explains how units and structures complement each other.
Why are isolated strongpoints risky?
An isolated strongpoint may hold for a while, but it can be bypassed or surrounded. If civilians are not behind it and it does not protect a route to safety, its strategic value may be lower than its visual impression suggests. A connected defense is usually easier to reinforce and easier to abandon in order.
A narrow chokepoint can justify a strongpoint, but only if it protects something important and has nearby support.
How do defenses interact with civilians?
Civilian protection is the scoring objective, so defensive choices should be judged by how they affect people. A barricade that keeps zombies out of a district may also trap civilians inside if the fallback route is inadequate. A gate that controls movement may create a bottleneck if too many people depend on it.
Read the civilian protection guide before finalizing a layout. It covers safe zones, evacuation routes, and the balance between containment and rescue. The goal is not merely to build a wall; it is to preserve a path to safety.
When should you rebuild instead of repair?
If the infection is already behind the main line and civilians have no protected route, adding another outer structure may not solve the problem. A restart can be the faster way to test a better layout. The official description encourages retrying and adjusting strategy rather than treating every loss as a failure.
On the next attempt, change one structural assumption: shorten the perimeter, move the fallback, or connect the safe zone to a clearer evacuation route. Use the maps and workshop guide if the city layout itself is unfamiliar, and the beginner guide if you need the overall loop.
Sources
Related Articles
guides
Zombies Aren't Real Defense Strategy: Protect More Civilians
Build a practical defense strategy in Zombies Aren't Real with safe zones, covered approaches, evacuation routes, and air support.
guides
Zombies Aren't Real Evac Corridor: How to Move Civilians
Learn how to place an Evac Corridor in Zombies Aren't Real, connect it to a safe zone, and troubleshoot stuck civilians.
guides
Zombies Aren't Real Safe Zones: Walls, Gates and Civilians
Build safe zones in Zombies Aren't Real, add gates for civilians, and cover vulnerable walls with a practical defense.
Was this helpful?
Thanks for the feedback!